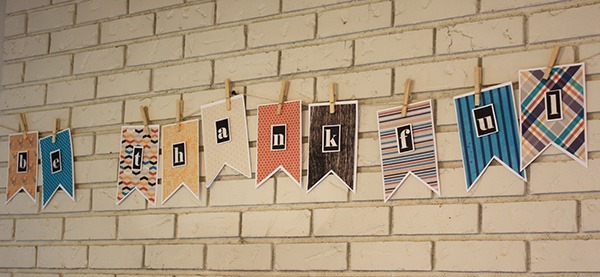
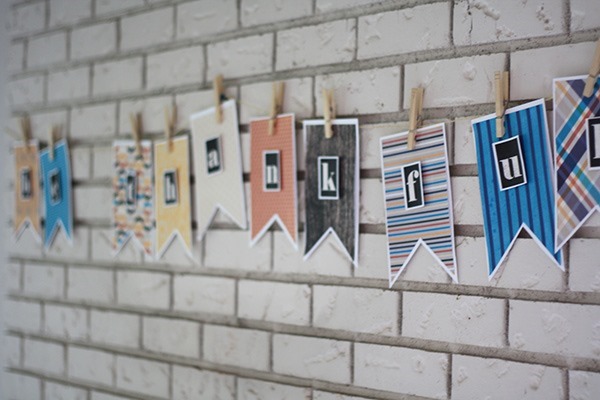
As promised – I’m back today to tell you how I created this fab banner in minutes with only my printer and the help of my nine year old Reece:
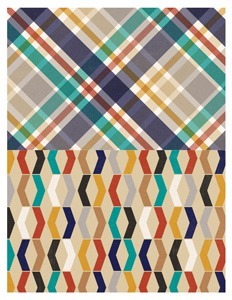 It really was so simple! All I did was open a letter sized photoshop file, and put two pieces of paper tiled in two large rectangles on the page, I my banner says “b-e t-h-a-n-k-f-u-l” so I needed ten different rectangles – all of my papers are from the “Be Thankful” kit by Mari and I – it is a gorgeous kit and printed out so beautifully!!!
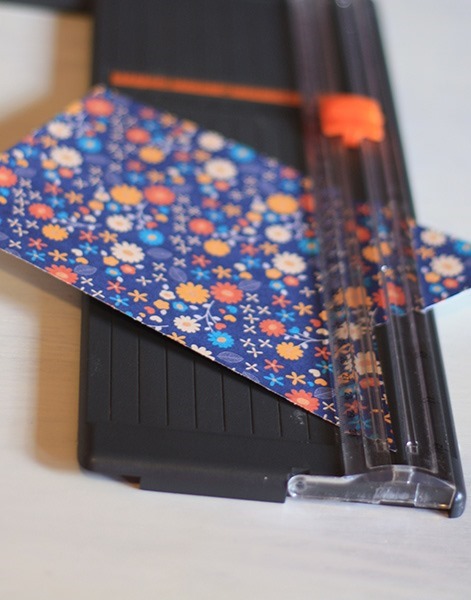
You cant quite see it in the photo here, but the rectangles were slightly smaller than the actual page, this made room for my printer margins and made my finished cut out shape slightly smaller than half a sheet of cardstock. Now, for myself, I didn’t bother with making my rectangles “banner shaped” since I wanted quick and easy, I just cut the v’s out myself after I cut out all of the rectangles by just laying it diagonal in my paper cutter – no, these didn’t turn out perfectly symmetrical, but there was a bit of a “handmade” feel to it… that’s what I’m calling it anyway!
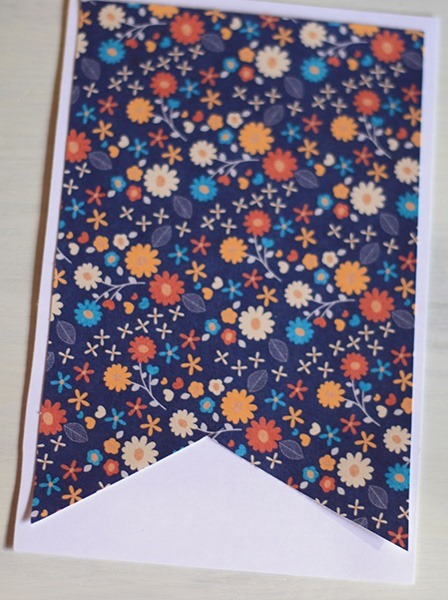
After I’d cut out all 10 banner shapes, I needed to make my back ground layer of paper just to add a bit of dimension to the banners – because they were just two rectangles slightly smaller than half of an 8 1/2 by 11 sheet, to do the background, I simply cut white letter sized cardstock down the middle, for two 5.5 by 8.5 rectangles – then I centered each of my banner papers on a rectangle and used a simple adhesive to attach the two:
At that point my white paper still was a rectangle, so because I’m a fearless crafter I just grabbed a pair of scissors and cut a somewhat straight v in the bottom of the white, leaving a little margin just like the edges – you can sort of see what that looks like on my finished banner here:
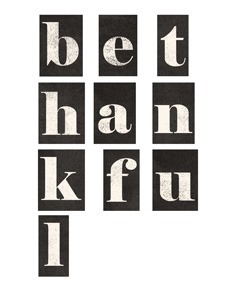 Finally, to get those letters – I also did this super simple, I opened another letter sized page in Photoshop, and added the letters I need for my particular banner – I used my simple Color Block Alphabet, because it is simple, easy to cut out. After printing out the letters on a sheet of cardstock, I cut them all out leaving a small white edge on them for some extra dimension. Really you could use any alphabet you for this, or even just a simple bold font, just cut it out in rectangles and you will get the same feel…. not that my alpha isn’t AWESOME, the texture and color is just lovely, and it comes in 8 different colors! But if you are blazing your own trail today, just use a chunky font and spread your letters out far enough that you can cut a rectangle around them.
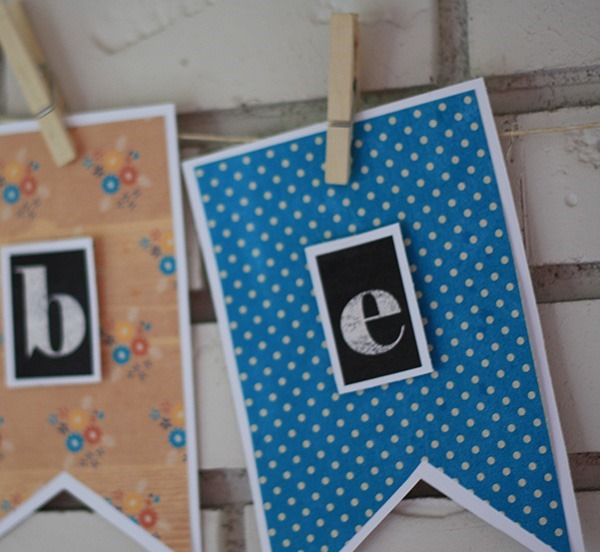
The final step for each letter was to fasten them directly to the center of each layered banner piece – I just eyeballed the direct middle, once again no need to be totally perfect – then I attached each one with a pop dot – just a sticky foam circle that bumps the letter out a bit from the background, I love those things! Seriously every project needs a pop dot I think! Here you can sort of see what I mean about the dimension:
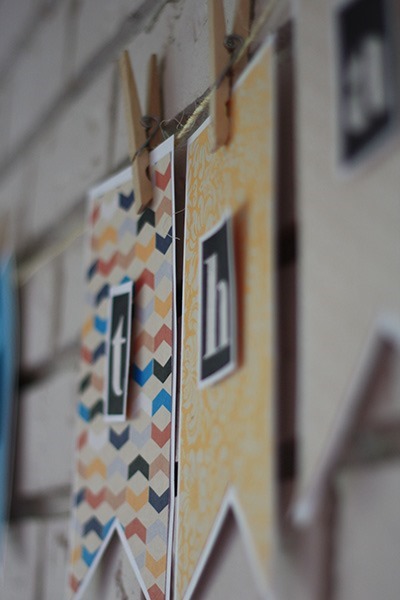
Once you have all your letters fastened you banner is essentially done! Now it’s just a matter of hanging it! I had some twine that fit my harvesty thanksgiving theme perfectly, but you could use ribbon or yarn or really anything that makes you happy! I hung the twine across the fireplace, pinning up one time in the middle, then I used wooden clothespins to attach each letter – I let them hang at slightly different angles and heights, and tweaked a little when I realized it looked like the word “bethankful”… giving that e and t a little space made a huge difference! Here is another peek at the finished product from the side:
So cute, SO easy!! Seriously I’m not lying when I say it took us under 20 mins!
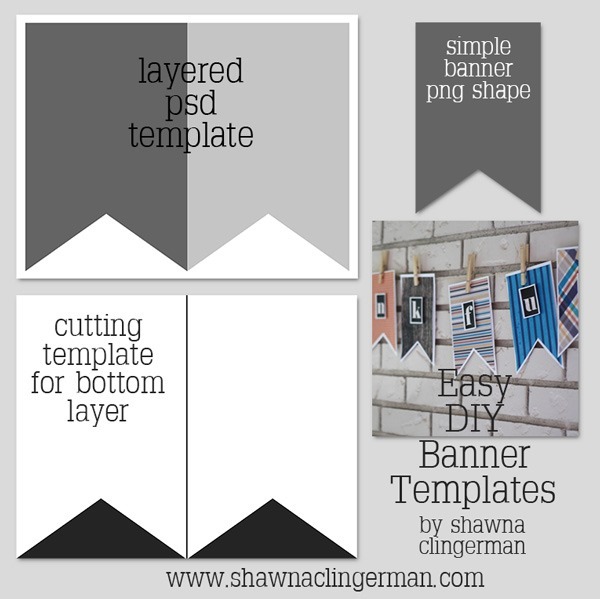
So – I thought since it is free Tuesday’s and all, and since a lot of people don’t like randomly cutting with out any direction – I’d put together some free templates for you:
It includes a layered psd template if you want to use your favorite digi kit just like I did, and just simple printable pdf shape templates you can use as guides. I also threw in the banner shape alone so you can use it to trace and cut out pretty patterned papers you already have!
Hopefully that helps and inspires you to put together a simple DIY banner of your own!! It will take you no time at all and you will be so proud when you’re done!! Link me up if you make one, I would love to see!!!
what a beautiful creation ! thanks for sharing ! i share the link here : http://www.pinterest.com/lemondedis/freebies-fichiers-de-coupe-svg-gsd
and there : https://www.facebook.com/pages/LMIlesptitesdecoupes/498251196924176
Thank you, great idea!