Monday’s here in Shawna Land are going to be my “Make it Happen Mondays!” aren’t a clever? … Basically my Monday blog posts are supposed to be my motivation for making stuff happen around here, I can then post it on Monday and look at my finished post and thing “MAN I’m awesome” LOL or something like that….
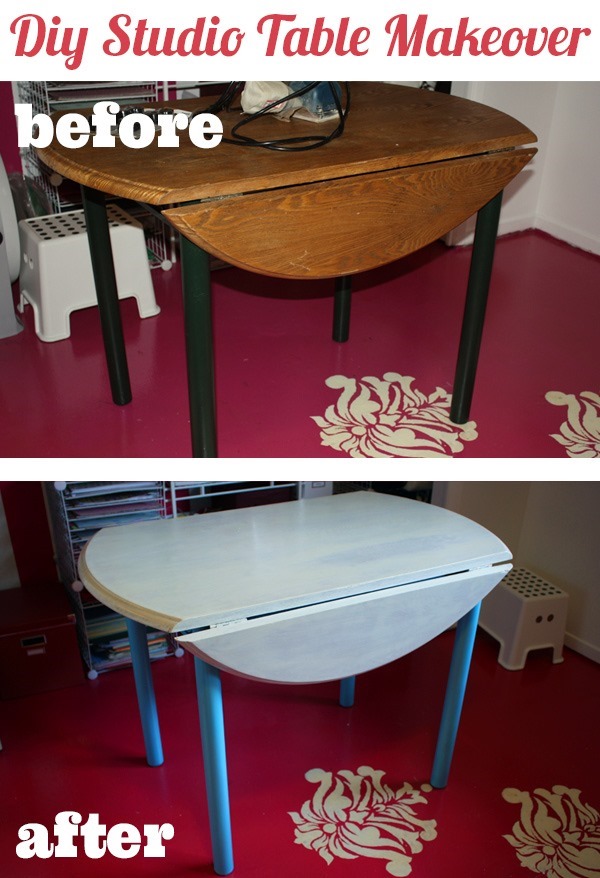
This week, I want show you a project I just finished for my studio. My awesome craft table!!!
When I planned out the room, I wanted a craft/scrapbook table that is separate from my desk – that way crafting and design work never have to compete! I was looking around for a table with drop sides so that it had the option of taking up less space but I could easily extend for some heavy duty crafting.
After failing at craigslist and garage sale hunting (I wasn’t about to pay an arm and a leg for a table bound to get covered with mod podge and sharpie marks!), I hit the jack pot at one of the best places in the universe, the goodwill outlet store. A light shown down from heaven and angels sang because I walked in the door and saw my future table toppling over in one of the bins – then they gave it to me for 3 bucks! Score!
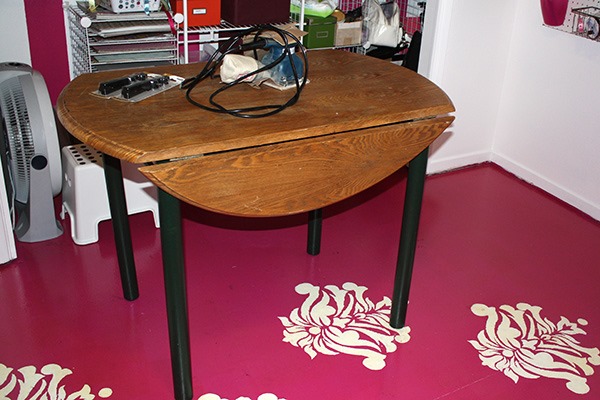
I should have taken a picture of it when I first brought it home because the top was falling off and it would barely stand up – it was a sad little table, but I believed in it! After a few bolts and some major re shaping on the metal legs, it looked pretty sturdy sitting in my in my studio:
totally usable but not exactly adorable…
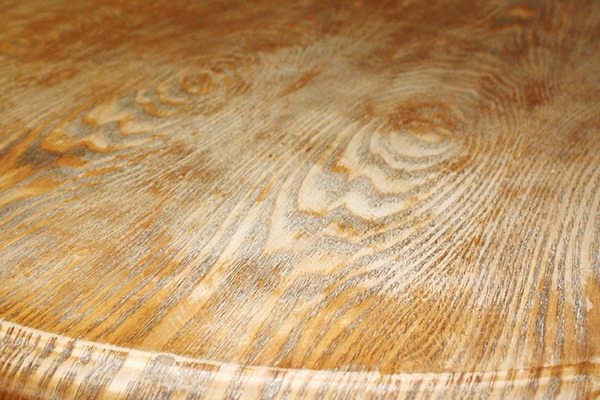
Because it is going to be a craft table, I wanted to make it a photo friendly surface. The dark wood is totally not conducive to bright fresh photos so the first thing I did was sand as much of the finish off of the wood as I could to make it paintable:
… honestly, I probably could have sanded it more, but I was a little short on sandpaper… and patience… I figured I was going to paint anyway so whatever – but my next step probably would have appreciated a more uniform surface to start with.
I googled/pinterested around a bit, and decided to try a whitewash type paint finish. Sounds complicated but it really just involved diluting the paint with water (I did about 1/3 water 2/3 paint but really it isn’t a science, the more water you use the thinner the paint becomes). In our garage, with the shortsale, we inherited about 8000 cans of left over paint, so the paint pretty much was free. You can’t beat free!
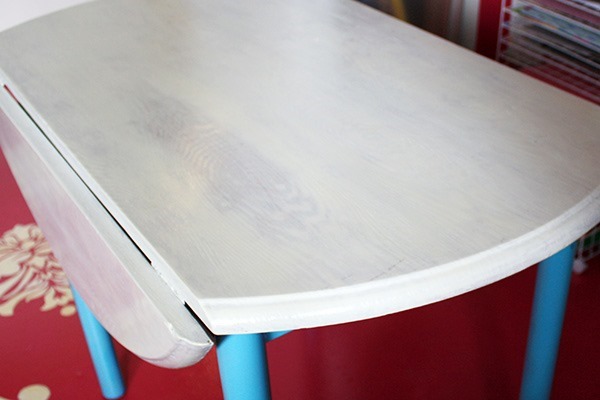
Super cheap and super easy – it was fun too! I simply painted on some of the watery paint and then let it sit while I painted the rest of the table, then I used an old rag and wiped it off, rubbing in the white was as I went. I did that step probably about 3 or 4 times, and my hands were a total mess, but it was so quick and easy. The only tip I have is to work in long strokes going with the grain of the wood, and then just do it till it seems white enough for your tastes. After that I just let it dry!
The next day I decided, because of the uneven-ness of my sanding, that it needed one more coat to look uniform, but in order to make my life as easy as possible, this time I just dipped the rag straight into the paint, got a teensy bit on there, and rubbed it right into the table top. After that coat dried I just used a bit of polyurethane I had sitting in my garage left over from my floors and did two coats, I simply dipped and applied with another old rag in a really really thins coats following the same long strokes. I hadn’t been originally planning to do a clear coat but I decided it was important because a crafting surface needs to be easy to clean and raw, thin painted finish would always be getting wiped off.
The legs I just wasn’t sure about how to deal with at first. They came in this ugly version of green that absolutely did not scream happy crafty place. For a while I thought really I would just have to replace the whole bottom half – which would have been a great plan if I had been able to find some awesome vintage cheap table legs or pedestal. But because I could not find anything I was willing to spend money on, it was time for plan b. It came to me out of the blue – it was the COLOR that was gross about them, not the legs themselves!
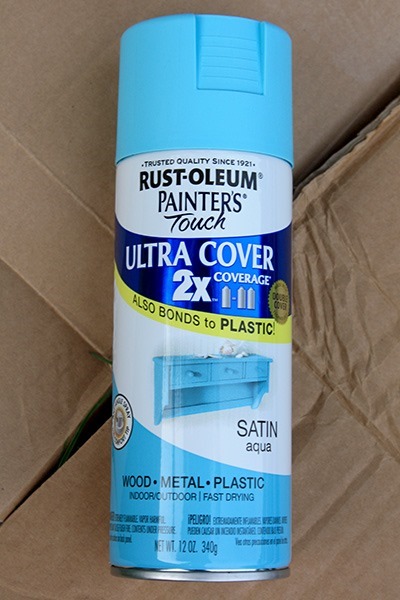
SO more googling/pinteresting and I went off to the craft store and came home with this:
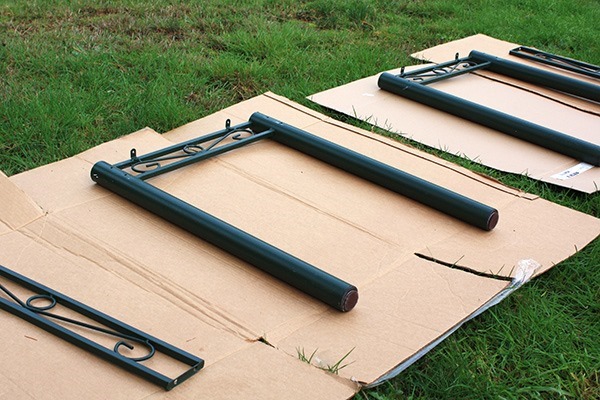
I took the table legs off the table all together (which was easy since I had already figure out how to attach them in the first place). Then I wiped them down and took them out to the yard and spread them out on flattened cardboard like this:
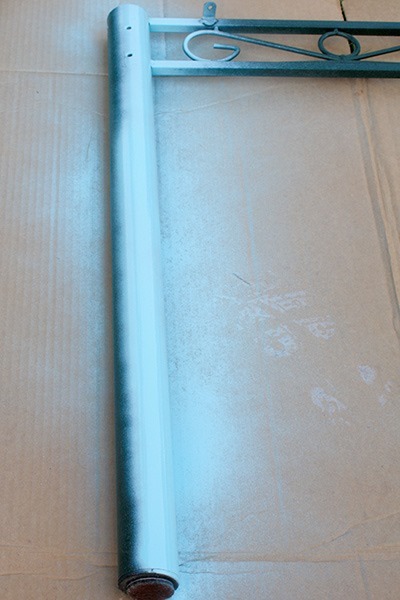
Then all I did was shake up my can and spray away:
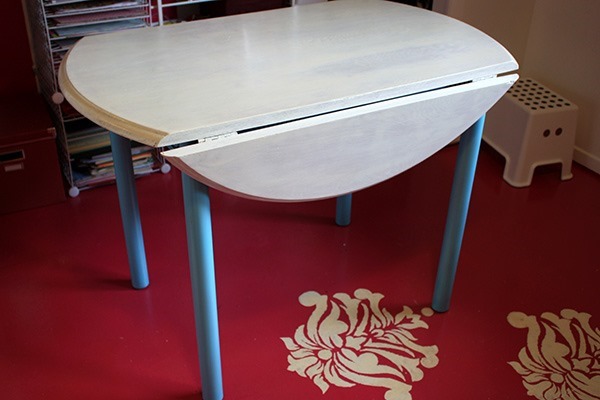
I’ve never spray painted before, so this is where you can learn from my mistakes… Firstly – I think I probably applied my coats too thick, it didn’t dry super quickly like the can said it would, and it did a bit of running/dripping which was annoying. Secondly – everything I read said you didn’t have to sand metal first, that the paint will bond to it – however, I didn’t put it together in my head that these legs already were painted (dug! green!). So after being all finished I realized the paint would easily scratch off, problematic but not the end of the world, especially since this table is hiding away from every day wear and tear. Still, I decided to just wipe a thin coat of the poly on there too as I was doing the table top, why not? It seems a lot heartier now so I feel good about it. In the end, what a huge difference that 7 dollar can of spray paint made!
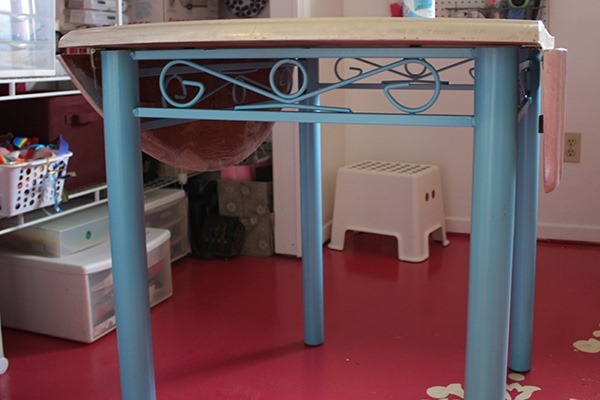
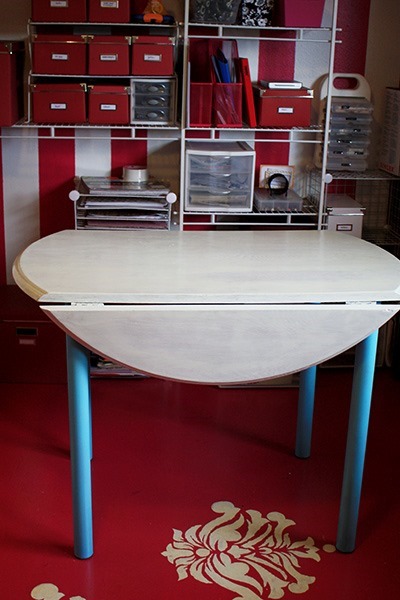
It now sits all screwed it all back together, in my studio, begging to be crafted on!
The little drop sides still don’t stand on their own – I’ve been hunting and hunting for some hardware that does the job but the ones we ordered on amazon were not the right thing… if anyone has any suggestions I’m all ears!
In the end, this table is now adorable, and it totally adds a really fun pop of light blue to my room. Because I had some paint and poly just sitting in the garage, this table cost me under 10 dollars!! aww yeah!!!
I know I still need to do the full studio reveal, it is coming soon I promise!! Just have to get my door handle and super cute light switch plate on first! I still have my floors to show off and a few other things we’ve done around here so check in next Monday and I’ll have something to show you then!

Great re-do! Can you just use a small piece of wood underneath, maybe 2″x8″, and screw it in with a washer (or maybe a washer on each side of the wood piece) so you can turn the piece of wood to hold it, or twist it out the way to fold it down? Did that make any sense at all? LOL